Show me your modified cages!

The Rat Shack Forum

Help Support The Rat Shack Forum:

This site may earn a commission from merchant affiliate links, including eBay, Amazon, and others.

victoria

Well-Known Member
Joined
Jul 3, 2009
Messages
4,614
Location
Montreal, QC
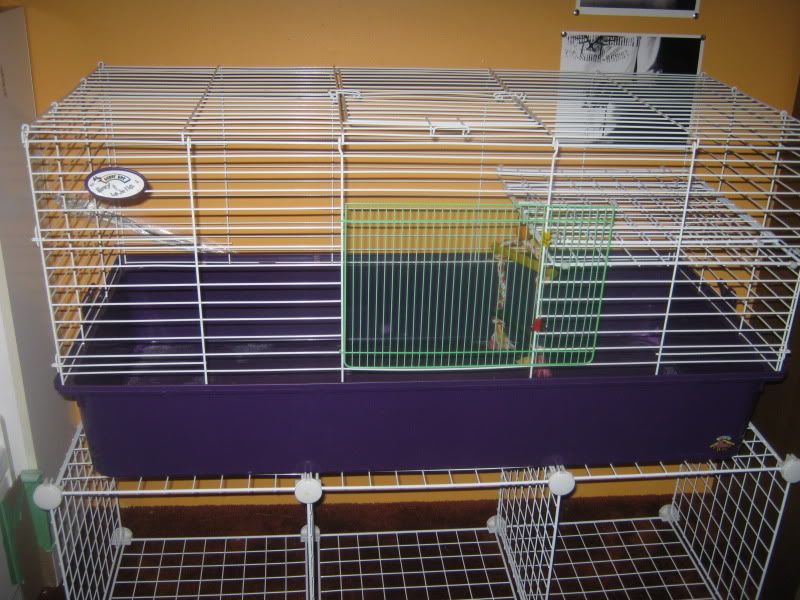
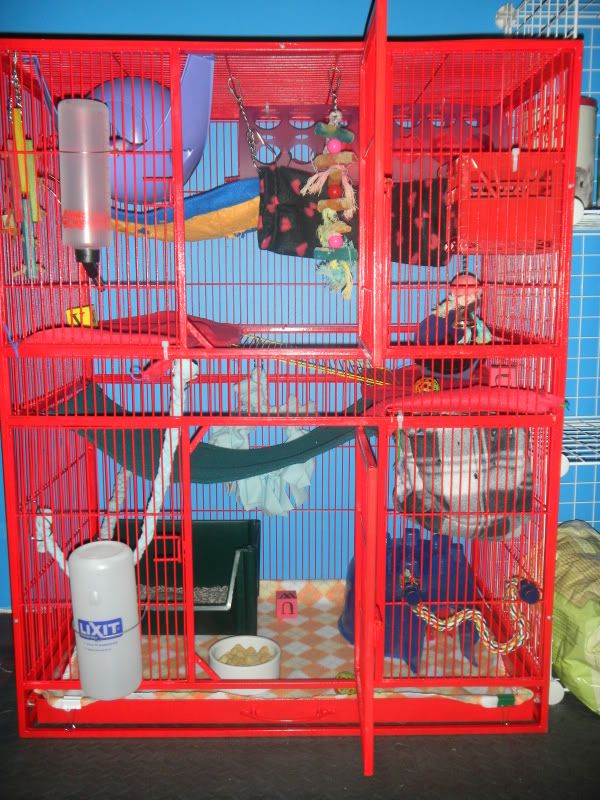
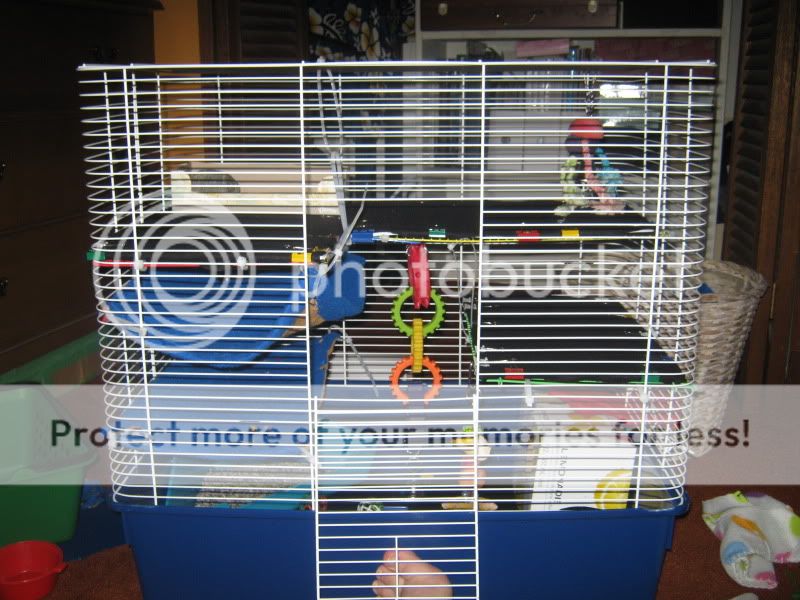
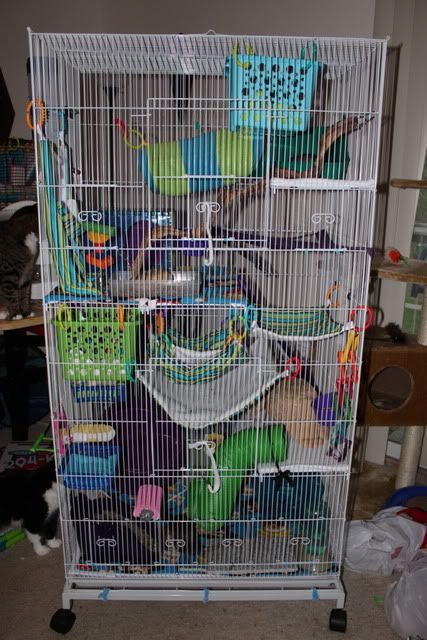
I've been helping my local SPCA for with adoptions and I've found a lot of adopters that are looking for affordable rat cage options. CNs are not in everyone's price range, especially if they're not looking at keeping rats for the long term and Rat Resorts and Super Pet My First Home Rat Cages don't cut it. (Martin's are not affordable alternatives here IMO.)

I'm looking for picture and descriptions of people's modified rabbit, ferret, chinchilla, and bird cages that I could have permission to post in a Photobucket album or something similar that I can link to adopters to offer them inspiration. The cages we have available the most here are Hagen, Super Pet, Ferplast, Savic, Hanzy... any examples will do though. Even Rat Resorts with added levels would be great!

Thanks!
 
I find that strong, well made baking cooling racks, covered with dollar store dish drain trays (cut to fit & cable tied on) make excellent levels
 
I have a bunch of photos for you! I will give you the photos then describe how I did it :D 
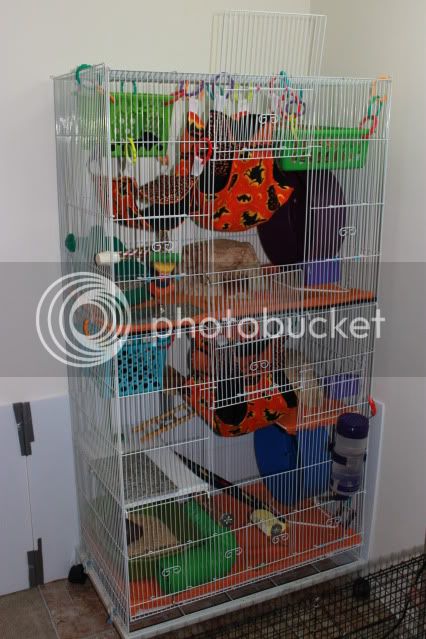
Love making my own levels.. lol

IMG_0032.jpg

Here is my rabbit cage with a homemade level. This was before it was covered in hardware cloth. I made the level out of 2 panels of a cube shelf ( like what they make guinea pig cages out of. ) Zip tied together then I zip tied a sheet of coroplast on top. I ended up taking it down eventually any just using hammocks however.

DSCN0609.jpg

Here is my modded Bird cage. I had to sand it an paint it and add levels to it. I used panels from one of those hamster play pens to create the levels for this cage. zip tied them to the cage and zip tied cut sections of plastic cutting boards ( but they were more like placemats) on top.

IMG_0716.jpg

Andd my rat resort. I also used the hamster panels to make these shelves ( cause the original ones pissed me off. ) Zip tied them to the cage then cut to size pieces of coroplast ( but I didnt zip tie them, I clipped them on so I could remove it to wrap with fleece every week. )

You can use any of the photos you want or let me knwo and I can send you some differnet ones.
 
My cage has gone through a lot of stages as I learned to work with it.

It started out like this. It was a pain to clean, waay to many things hanging, but the rats loved. it.
IMG_4254.jpg


Then my rat Xerox (RIP) decided he no longer liked his cage mates, and had to be seperated. (His health was not good enough to have surgery, and he was an extremely happy rat, he was just majorly OCD. Things in the cage had to be exactly where he put them. If another rat messed with it, you had a major screaming battle on your hands.) He ended up having playtime only with them for months, until I was able to rehome them all together.

Anywhos, I was able to separate the cage into two. Xerox in the top, my other three in the bottom.

IMG_5671.jpg


And finally, when I was able to reopen it back up, I modified that middle level to add a hole so they could go up and down, but if I ever needed to again, I can still make it into two cages. (I like having this option)

426303_10150690273026081_637631080_11483554_991333063_n.jpg
 
Thank you!

What did you use for the shelves? Coroplast with something underneath? Do you know the dimensions of the cage? Do you find you have to replace the wooden ladders frequently because they get peed on?
 
the cage is 18x30x55. you can fit up to 8 rats in it if used like I have it set up. Lots of places to play and sit and climb.

Its this cage from cage world: Cage World cage on Amazon

The cage comes with 4 shelves, and what I personally did is I put 3 shelves side by side to make the full level, and used bolt cutters to cut some of the wires off to form a hole so they could get to the top half of the cage. I then cut coroplast to size and scored it so I could fold it and fit it through the door.

The shelves on the bottom half are the remaining shelf from the cage, and a shelf i bought at target that actually is a closet organizer shelf.

I have since taken out the ladder (not because I had to throw it away, its still usable, but i have some lazy boys, and I wanted to make them work a bit more to get to level to level), but I do have the wooden bird perches, lava ledges, and bird rope to help them climb level to level.

I don't have a problem with the wood that often. The boys don't pee on it as much as you'd think they would.
 
Last edited by a moderator:
I built mine. The first design (trial and error I suppose) cost about $130 to build. I find my 4 boys are active enough that I will be expanding it and building a second for the females. If I did the materials smarter, I could prolly cut it down to about $100 even.
Eventually I would like to build a few to donate to our rescues nearby if they would like them.

15414521666777708564496119922393.jpg
15414521315482737109561481491413.jpg
15414521315482737109561481491413.jpg 15414521666777708564496119922393.jpg
 
image.jpg

Here’s my boy’s cage, it’s a big bird cage which I’ve added tons of shelves and climbing toys:) not sure if this counts as modified tho
 
Back
Top